'%3e%3cg%20transform='translate(15%2015)%20translate(6%208)%20rotate(7)%20translate(-15%20-15)'%20opacity='0.7'%3e%3crect%20x='0'%20y='0'%20width='30'%20height='30'%20rx='8'%20fill='%23635bff'/%3e%3c/g%3e%3cg%20transform='translate(15%2015)%20translate(3%204)%20rotate(4)%20translate(-15%20-15)'%20opacity='0.85'%3e%3crect%20x='0'%20y='0'%20width='30'%20height='30'%20rx='8'%20fill='%233372f0'/%3e%3c/g%3e%3cg%20opacity='1'%3e%3crect%20x='0'%20y='0'%20width='30'%20height='30'%20rx='8'%20fill='%2300a9e0'/%3e%3c/g%3e%3c/g%3e%3c/svg%3e)
In Figma
Create the design for the campaign
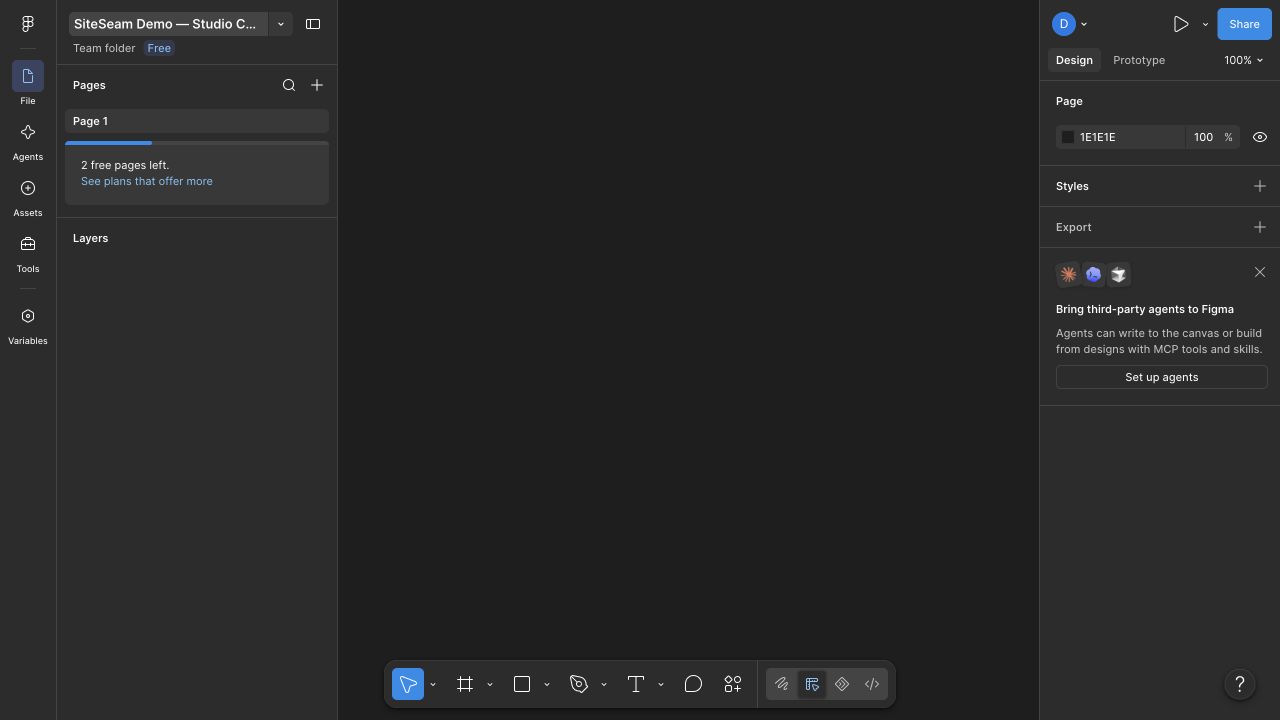
Create or open the approved campaign design and give it a clear title so it is easy to identify from SiteSeam.
'%3e%3cpath%20fill='%231ABCFE'%20d='M19%2028.5a9.5%209.5%200%201%201%2019%200%209.5%209.5%200%200%201-19%200Z'/%3e%3cpath%20fill='%230ACF83'%20d='M0%2047.5A9.5%209.5%200%200%201%209.5%2038H19v9.5a9.5%209.5%200%200%201-19%200Z'/%3e%3cpath%20fill='%23FF7262'%20d='M19%200v19h9.5a9.5%209.5%200%200%200%200-19Z'/%3e%3cpath%20fill='%23F24E1E'%20d='M0%209.5A9.5%209.5%200%200%200%209.5%2019H19V0H9.5A9.5%209.5%200%200%200%200%209.5Z'/%3e%3cpath%20fill='%23A259FF'%20d='M0%2028.5A9.5%209.5%200%200%200%209.5%2038H19V19H9.5A9.5%209.5%200%200%200%200%2028.5Z'/%3e%3c/g%3e%3c/svg%3e) Integration guide
Integration guide Connect your Figma account, prepare approved frames, and open a file in SiteSeam. Follow the import instructions and learn what to do if Figma limits API access.
11 documented steps
These captures show the live Figma setup and local OAuth connection. File discovery and initial previews succeeded, then the test account reached Figma’s API limit. Import completion and Reel creation still need live verification; those steps are documented as instructions without completion screenshots.
In Figma
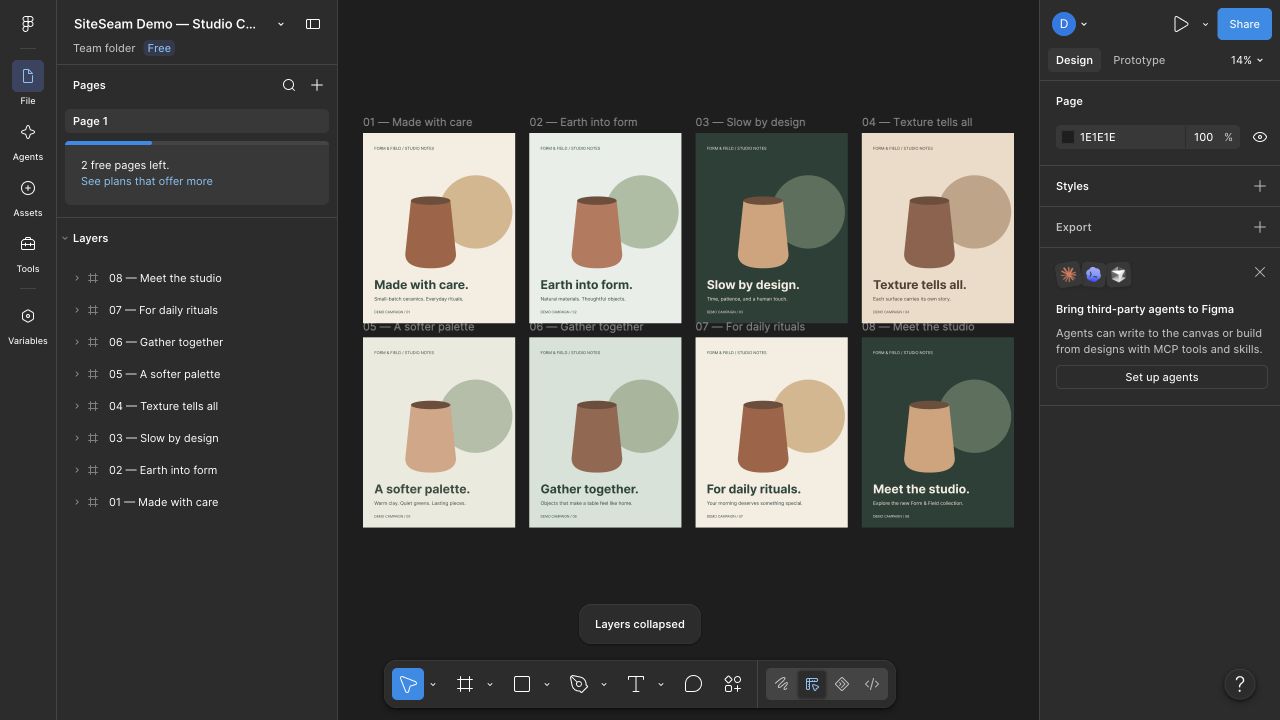
Create or open the approved campaign design and give it a clear title so it is easy to identify from SiteSeam.
Confirmation
Confirmation screenReview the design and confirm that its approved frames, layout, copy, and brand elements are complete before connecting SiteSeam.
In SiteSeam
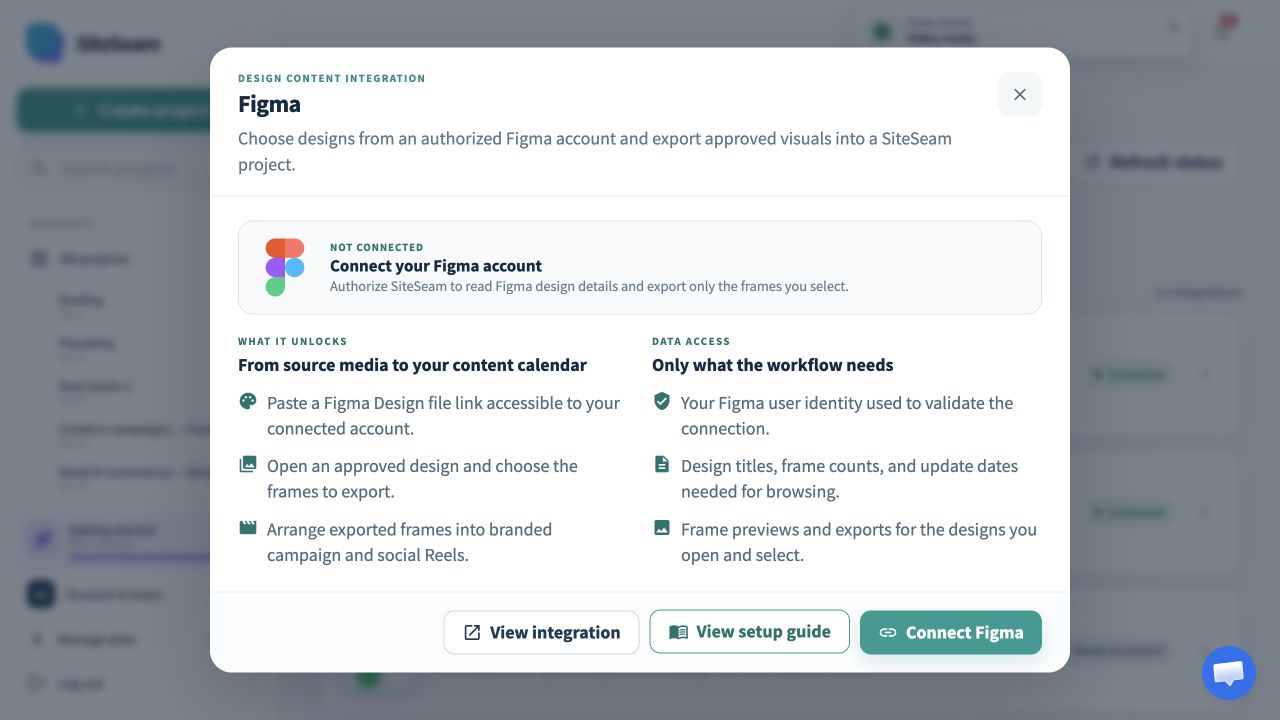
Open Integrations in SiteSeam, choose Figma, and select Connect Figma. Only a workspace owner or admin can manage the connection.
Confirmation
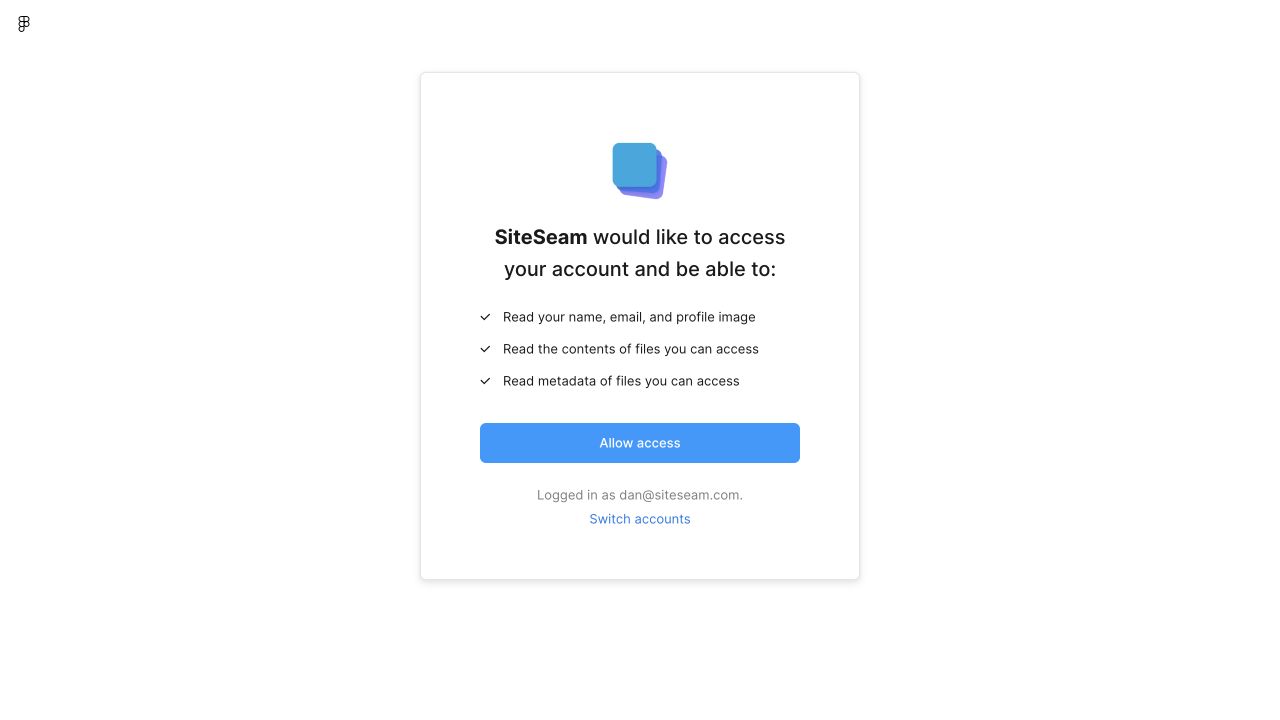
Confirmation screenReview Figma's user identity, file metadata, and file content read permissions, then approve the connection. SiteSeam never receives your Figma password.
Confirmation
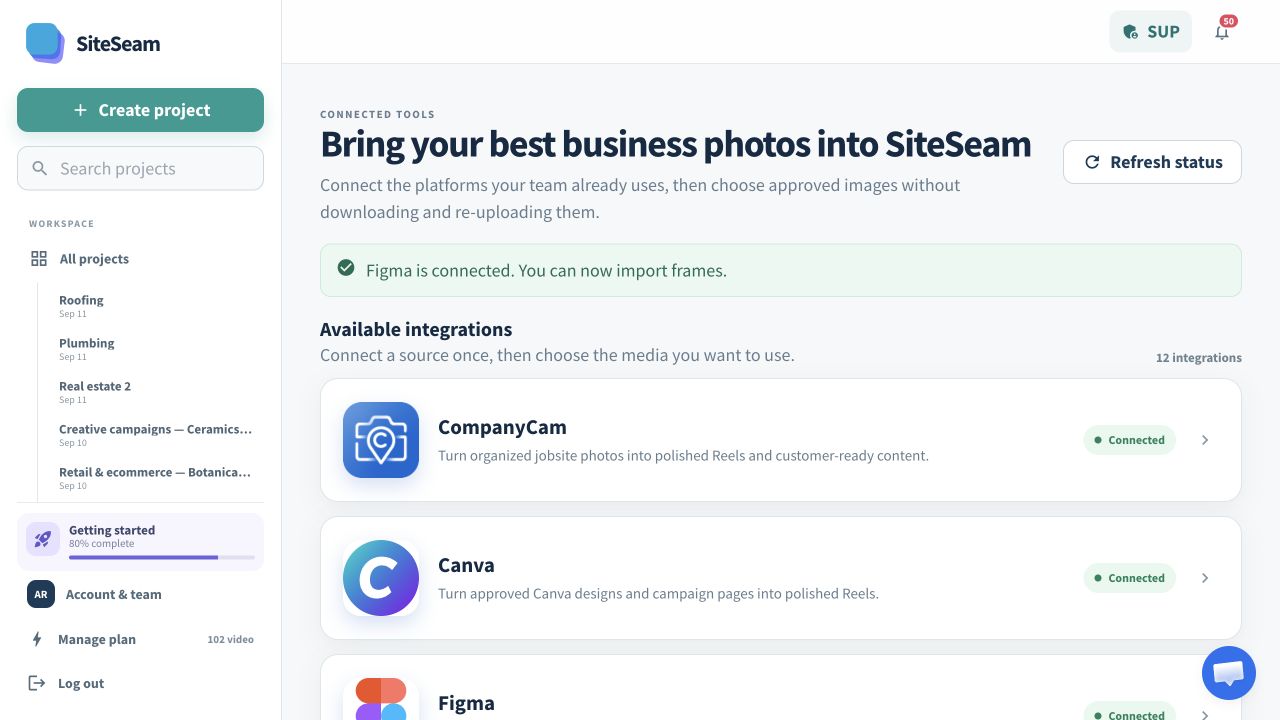
Confirmation screenSiteSeam confirms the connection and marks Figma as connected. If access needs attention later, the same card guides an owner or admin through reconnecting.
In SiteSeam
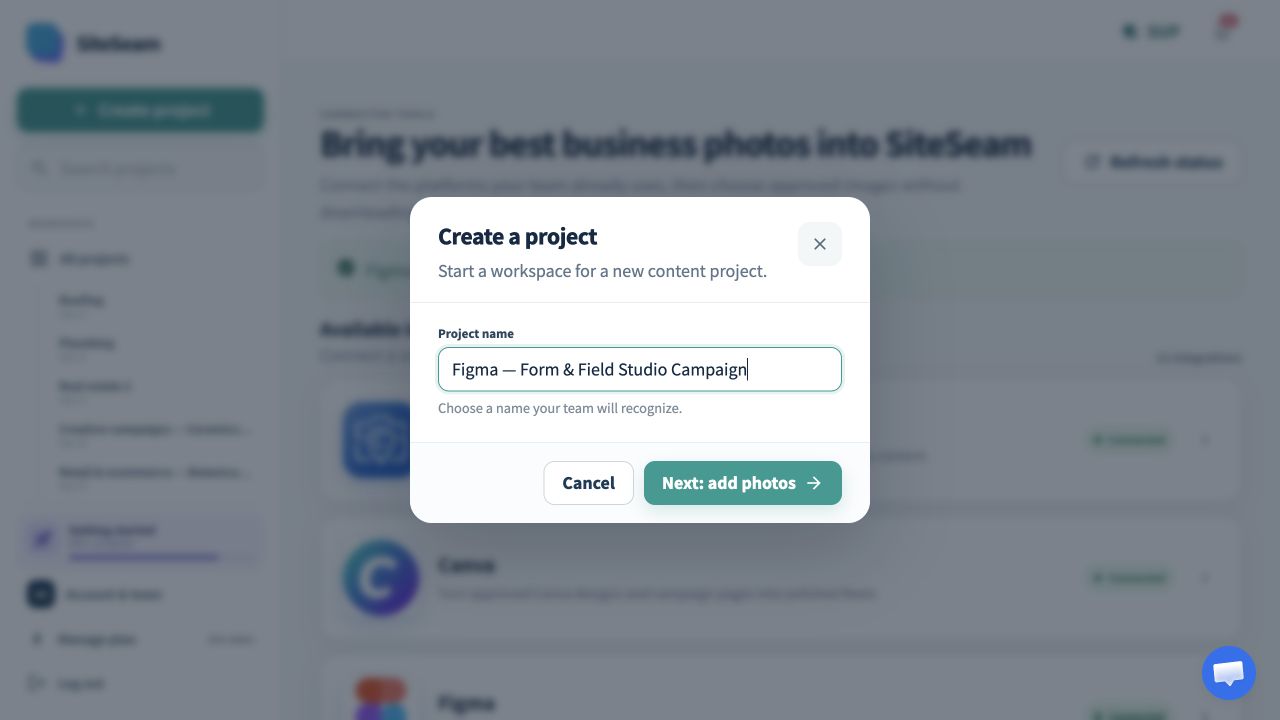
Create a project for the Reel and give it a descriptive name. This project will hold the imported originals and the content you create from them.
In SiteSeam
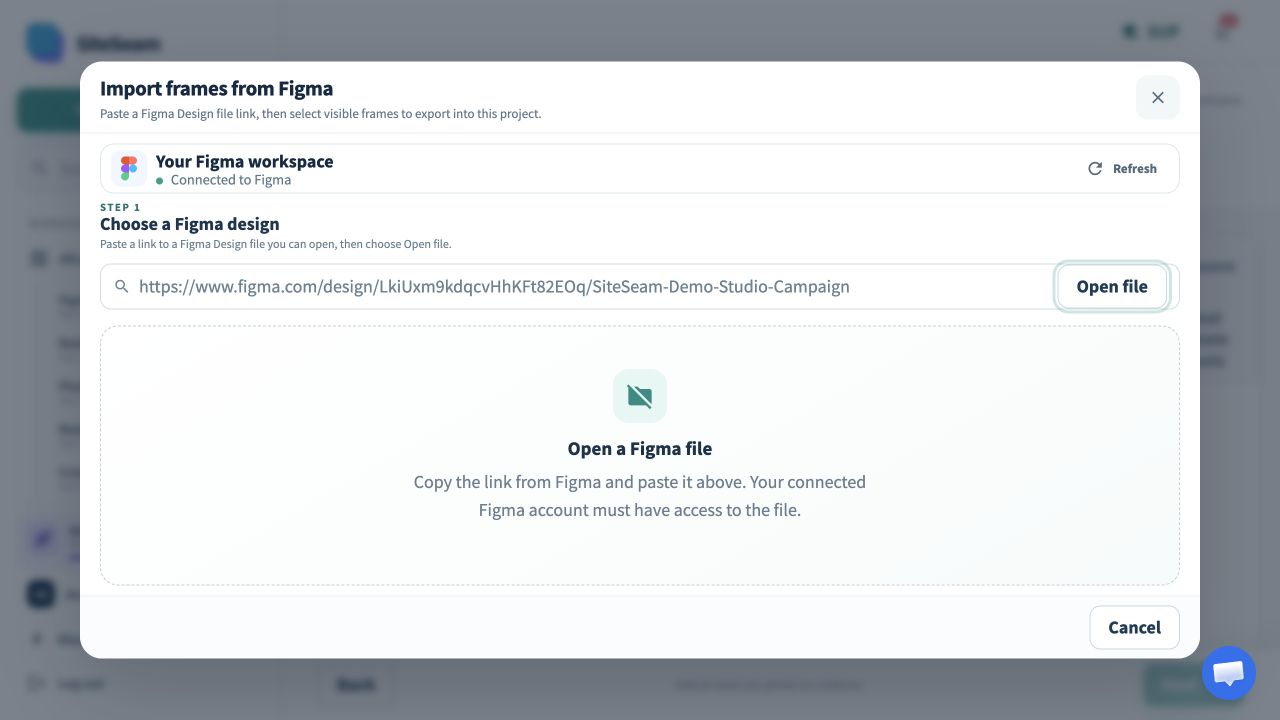
Select Figma as the source, paste the Figma Design file link and choose Open file. Open the design, then select the visible frames you have permission to use.
After import is available
Accept the media-rights statement and start the import. SiteSeam copies the selected frames into the project without changing their source in Figma.
The selected frames appear in the SiteSeam project gallery.
After import is available
Start a Reel, arrange the imported images, choose movement and effects, then review the branding and format before generating.
The Reel is configured and ready to generate.
After import is available
Open the finished Reel, review the result, and make any final adjustments before downloading or continuing to your publishing workflow.
The completed Reel is ready for review and distribution.
Troubleshooting
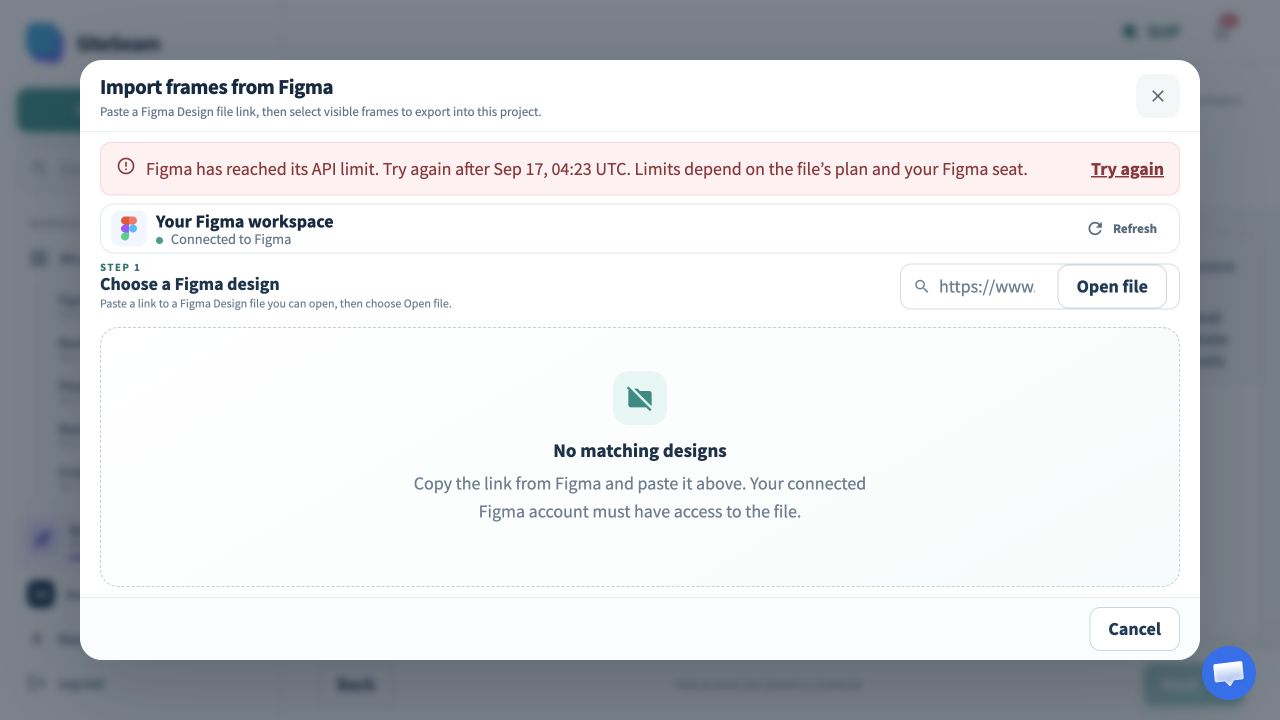
Wait until the retry time shown in SiteSeam. Reconnecting does not reset Figma’s quota. Limits depend on the file’s workspace plan and your Figma seat. You can also export approved PNGs in Figma and use Your Device in SiteSeam while API access is unavailable.
Ready to use your Figma designs?
Choose a Figma design, import the approved frames, and keep every Reel organized in one SiteSeam project.