'%3e%3cg%20transform='translate(15%2015)%20translate(6%208)%20rotate(7)%20translate(-15%20-15)'%20opacity='0.7'%3e%3crect%20x='0'%20y='0'%20width='30'%20height='30'%20rx='8'%20fill='%23635bff'/%3e%3c/g%3e%3cg%20transform='translate(15%2015)%20translate(3%204)%20rotate(4)%20translate(-15%20-15)'%20opacity='0.85'%3e%3crect%20x='0'%20y='0'%20width='30'%20height='30'%20rx='8'%20fill='%233372f0'/%3e%3c/g%3e%3cg%20opacity='1'%3e%3crect%20x='0'%20y='0'%20width='30'%20height='30'%20rx='8'%20fill='%2300a9e0'/%3e%3c/g%3e%3c/g%3e%3c/svg%3e)
In Mitti
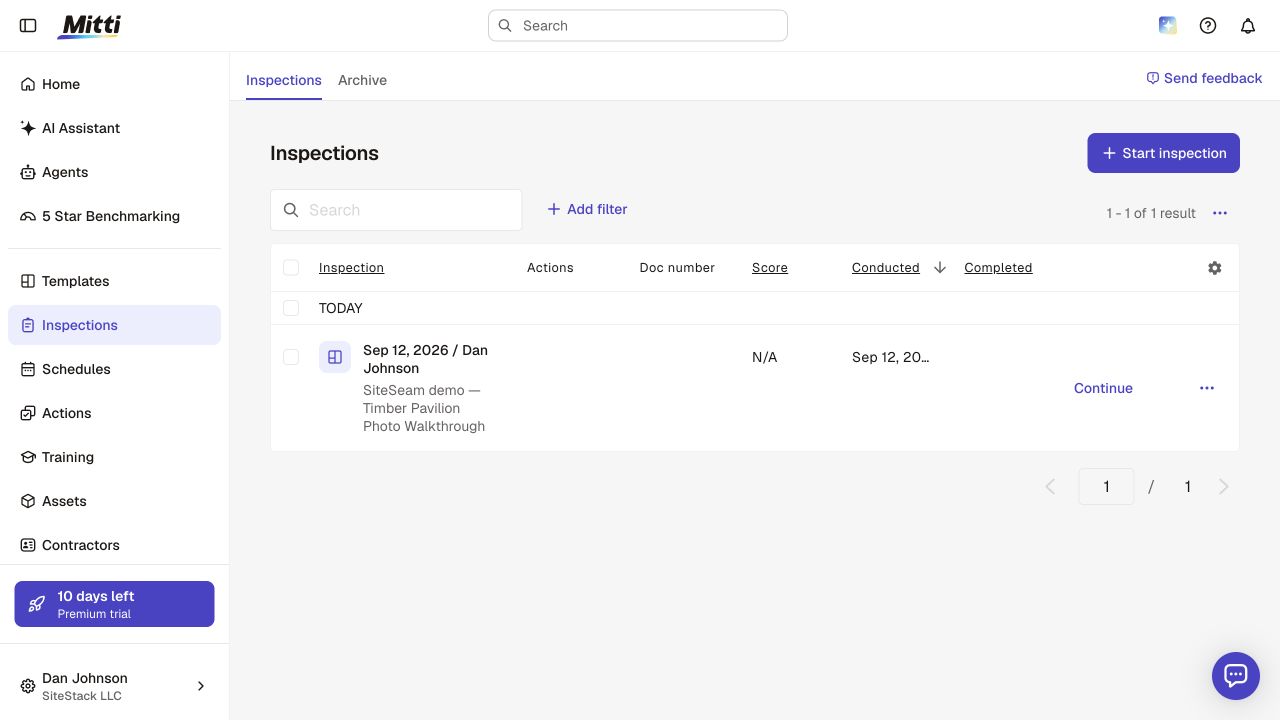
Choose the inspection you want to feature
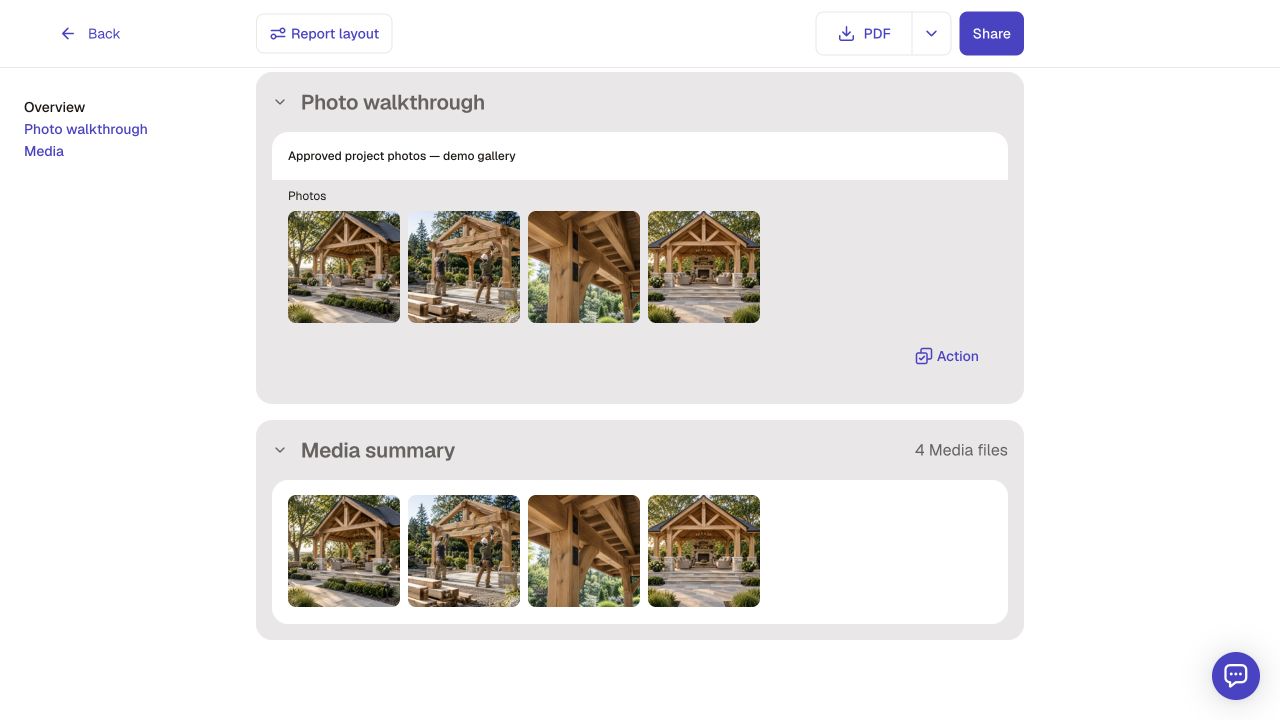
Open an inspection with approved project photos. Give it a recognizable title so you can find it in SiteSeam. Both completed and in-progress inspections are supported.
 Integration guide
 Connect Mitti, formerly SafetyCulture, choose approved inspection photos, and build a branded project story.
10 documented steps
Screens show a clearly labeled demo photo walkthrough, not a safety assessment. This integration uses API tokens, not OAuth. One token is connected per SiteSeam workspace; reconnecting replaces it. Tokens can expire after inactivity or lose access when a trial ends. Reconnect with an active token if prompted. SiteSeam does not change source inspections or publish inspection report links.
In Mitti
Open an inspection with approved project photos. Give it a recognizable title so you can find it in SiteSeam. Both completed and in-progress inspections are supported.
Confirmation
Confirmation screenAttach JPEG, PNG, or WebP photos to inspection responses. Review them for private incident, employee, and customer information before using them in a public-facing story. Signature and drawing responses are excluded.
In Mitti
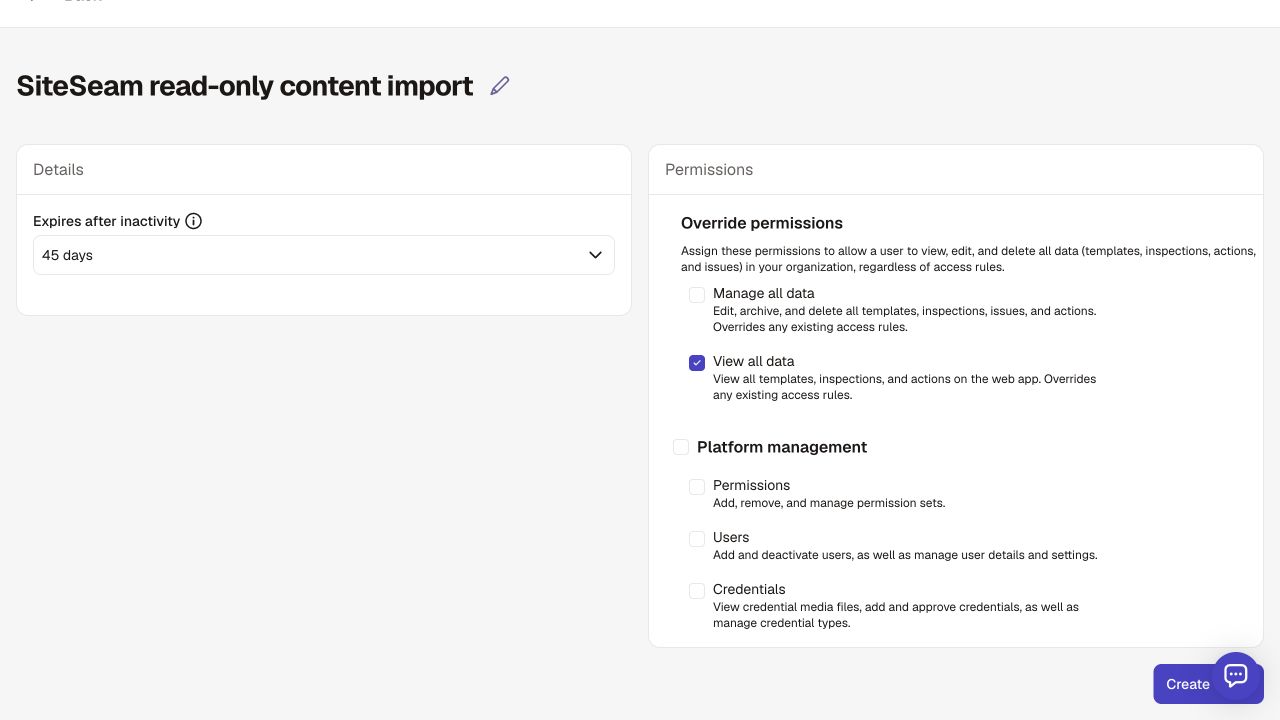
In Mitti, open your organization menu → Integrations → API tokens → Create API token. Name it for SiteSeam, clear the default permissions, and enable only View all data. Create the token and copy it privately. A user token with appropriate inspection access also works.
In SiteSeam
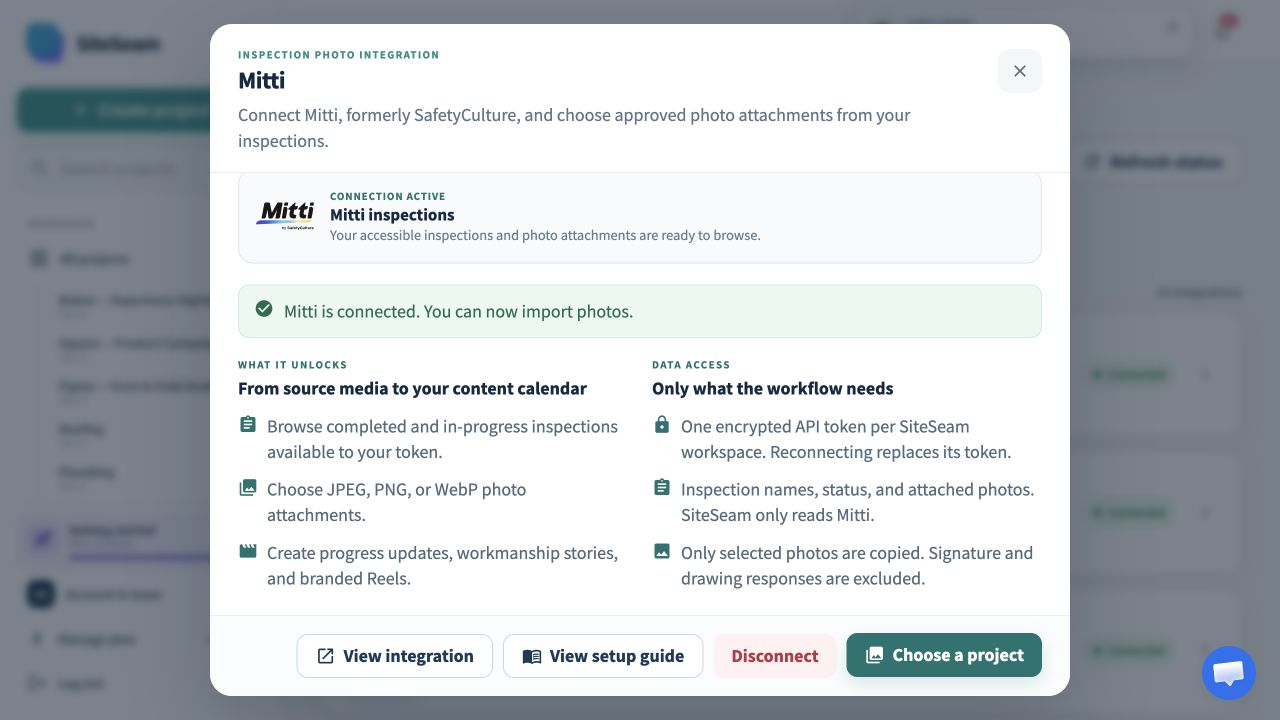
As a workspace owner or admin, open Integrations, choose Mitti, and paste the API token into the masked field. Select Connect Mitti. SiteSeam validates the token and encrypts it for this workspace; the token is not placed in the page URL or browser storage.
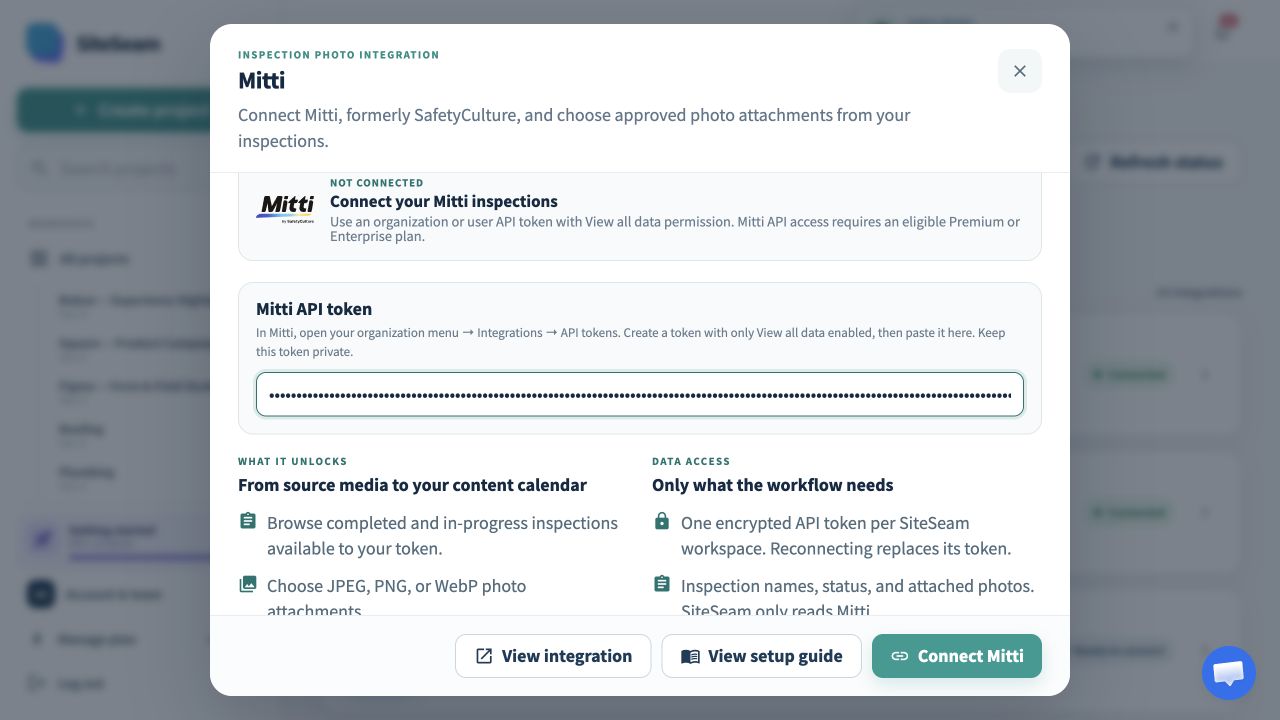
Confirmation
Confirmation screenSiteSeam confirms the connection and marks Mitti as connected. If access needs attention later, the same card guides an owner or admin through reconnecting.
In SiteSeam
Create a project for the Reel and give it a descriptive name. This project will hold the imported originals and the content you create from them.
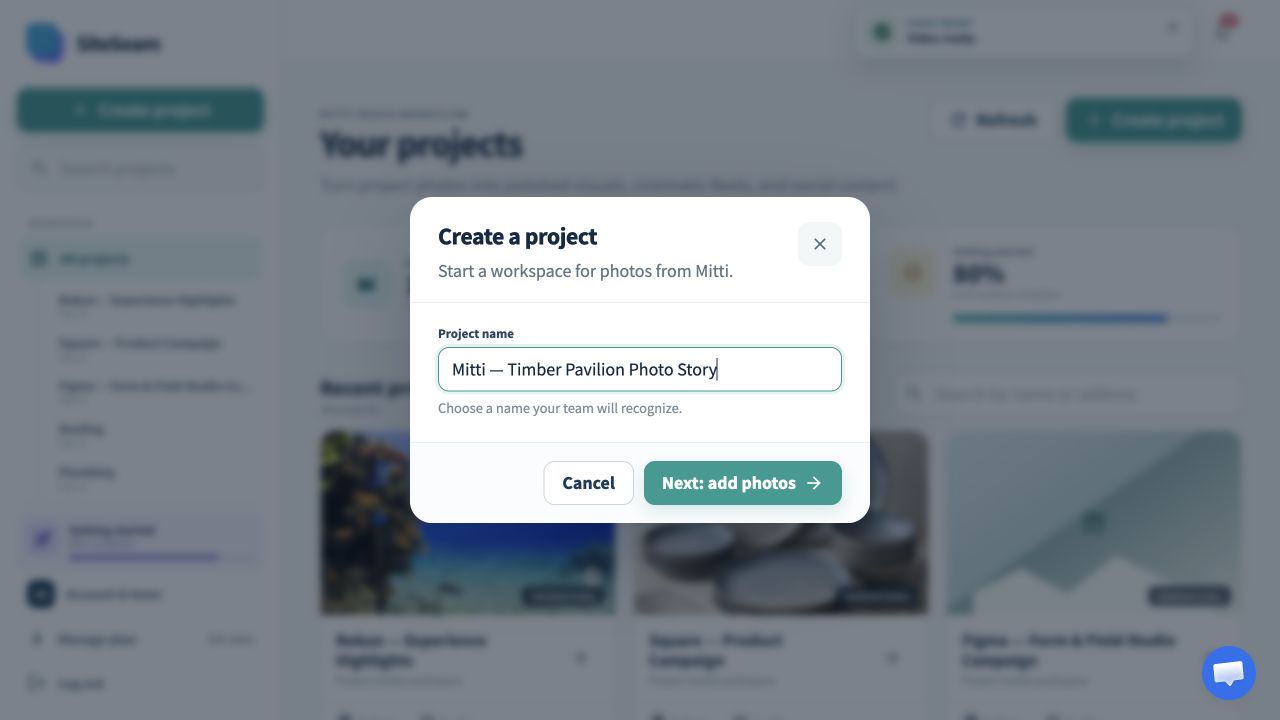
In SiteSeam
Select Mitti as the photo source and open an inspection. Search filters titles and template names as you browse; use Load more for additional pages. Select the photos you want and confirm your rights to use them.
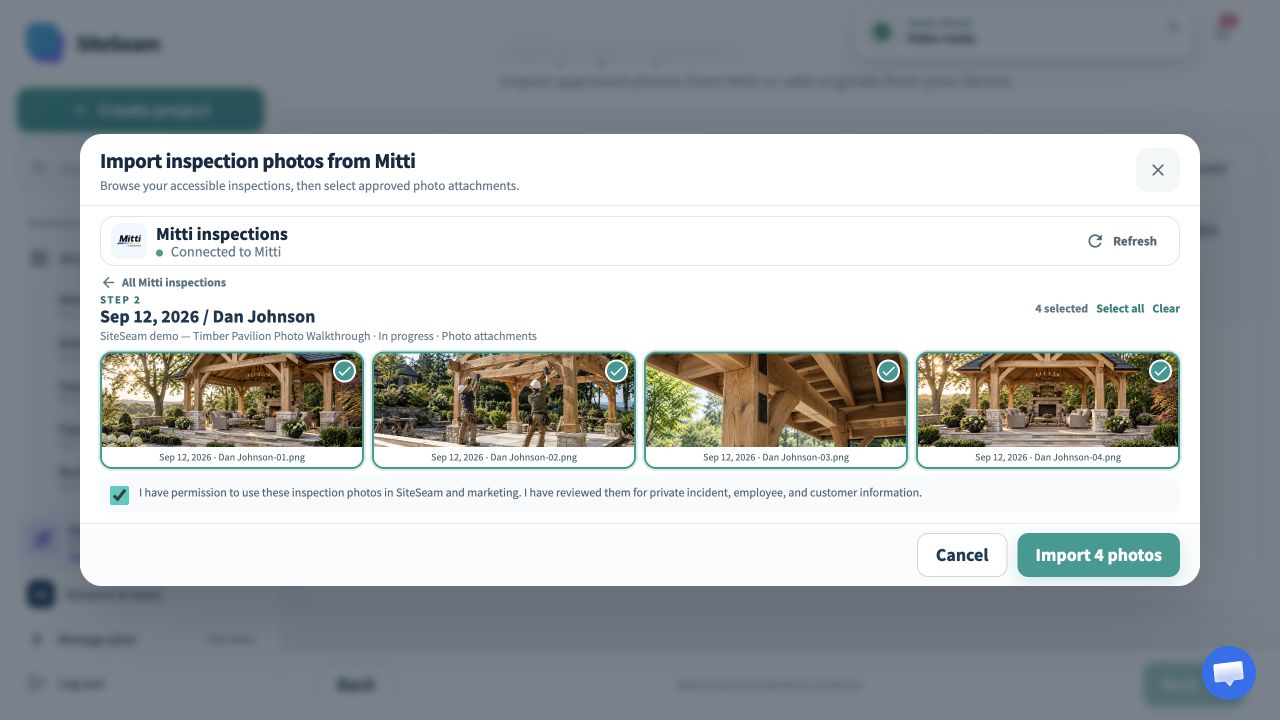
Confirmation
Confirmation screenAccept the media-rights statement and start the import. SiteSeam copies the selected inspection photos into the project without changing their source in Mitti.
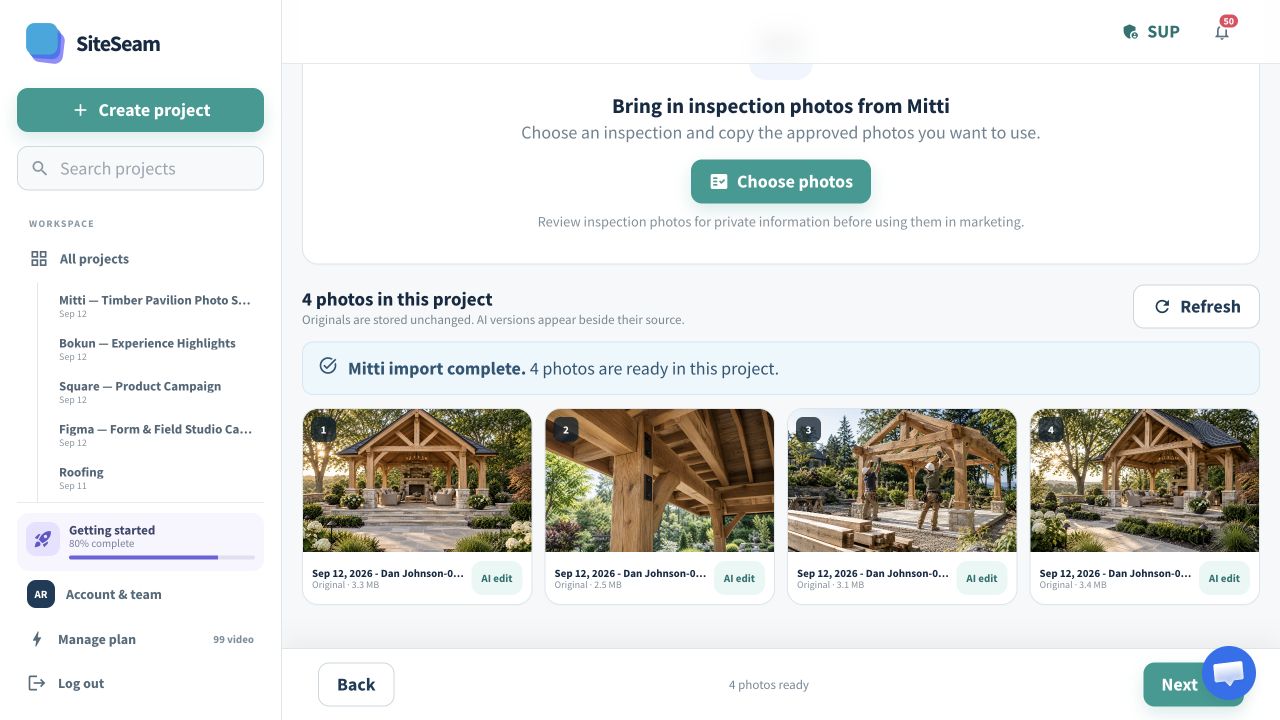
In SiteSeam
Start a Reel, arrange the imported images, choose movement and effects, then review the branding and format before generating.
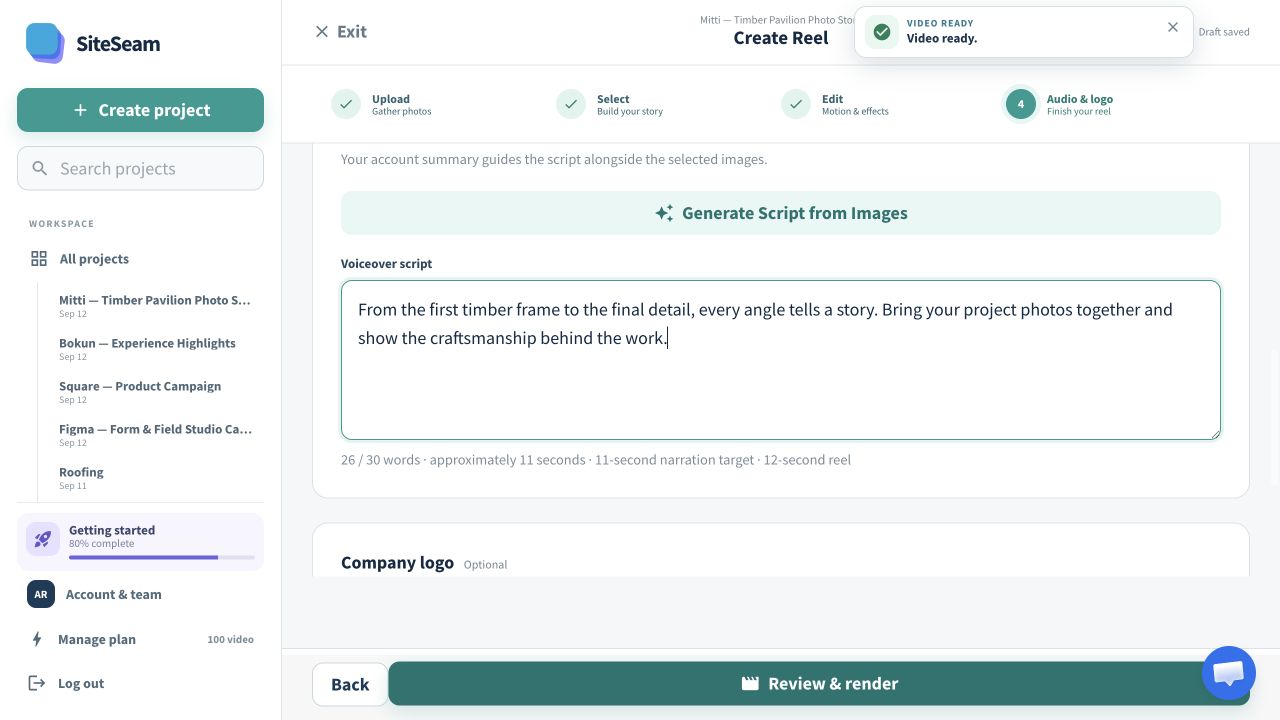
Confirmation
Confirmation screenOpen the finished Reel, review the result, and make any final adjustments before downloading or continuing to your publishing workflow.
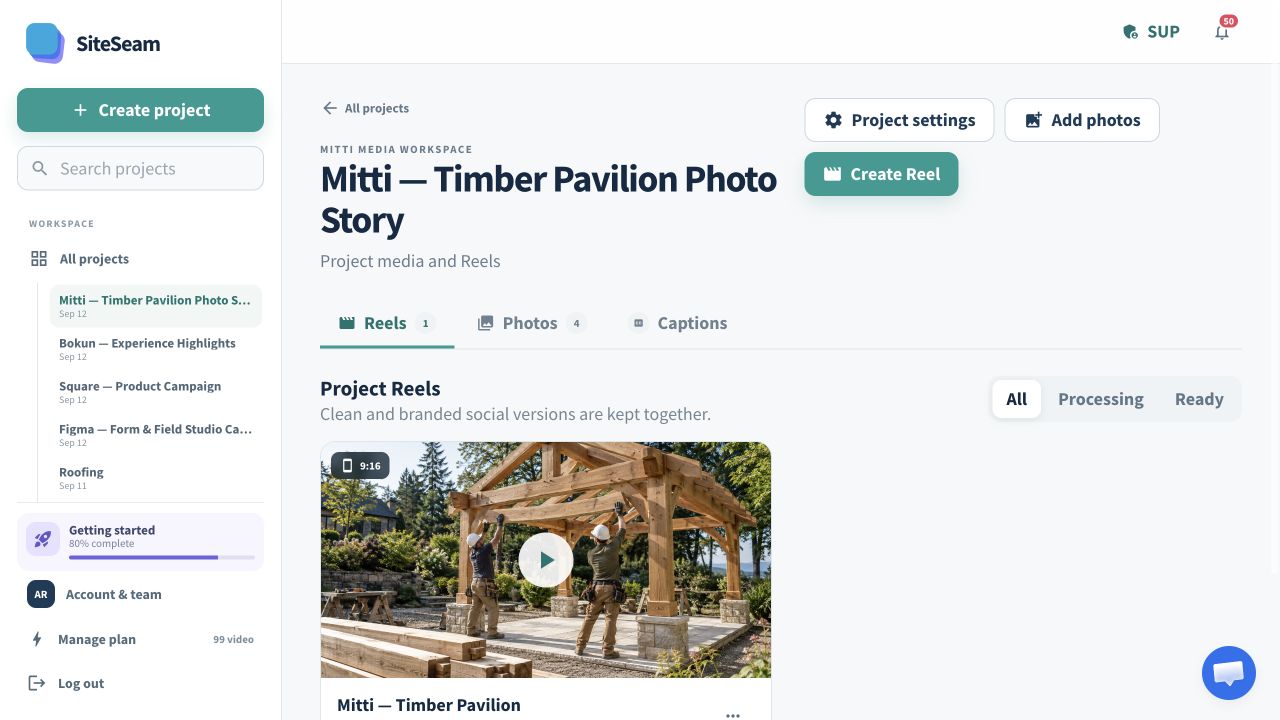
Ready to create
Keep your imported photos and finished Reels together in a SiteSeam project.